How to Put Text Behind a Person in a Video with CapCut Free Video Editor
If you’ve ever seen those clean, modern videos where the text appears behind a person—giving the scene depth, style, and a professional touch—you’ve probably wondered how creators pull off that effect. The good news? You don’t need After Effects, Premiere Pro, or any paid software. CapCut Free Editor can do it perfectly.
In this tutorial blog, I’ll walk you through everything you need to know:
✔️ The full step-by-step process
✔️ Tips for cleaner, cinematic results
✔️ How the process works in CapCut
✔️ And access to the full YouTube tutorial for visual learners
So let’s dive in!
What Is the “Text Behind a Person” Effect?
The effect is exactly what it sounds like—your text appears behind your subject while still being visible in the background. This creates a layered, 3D look that adds instant professionalism.
You’ve seen this in:
- Travel vlogs
- Fitness videos
- Talking-head YouTube videos
- Short-form Instagram & TikTok clips
- Product videos
- Cinematic intros
The effect works because it adds:
- Depth
- Movement
- Focus
- Visual interest
And viewers immediately think the video was edited in a high-end app.
Tools You Need (Everything Is Free)
To recreate this effect, all you need is:
- CapCut Desktop (Free Version)
or - CapCut Mobile App (Free Version)
Both versions support the tools needed for this effect.
You do not need:
- Green screen
- Fancy plugins
- Paid upgrades
- Third-party apps
Watch the Step-by-Step Tutorial on YouTube
If you prefer learning visually, here’s the complete walkthrough I uploaded:
Feel free to follow the video for a full demonstration and use this blog post as your reference guide.
Step-by-Step Tutorial: How to Put Text Behind a Person in CapCut
Below is the explanation of each step so you understand not only what to do but why it works.
Step 1: Import Your Footage into CapCut
Start a new project → import your video.
To get the best results, choose a video where:
- The person is clearly separated from the background
- The lighting is good
- The camera doesn’t shake too much
- The subject isn’t moving too fast
The more clean your footage, the easier the process becomes.
Step 2: Add Your Text Layer
Click on Text → Add Text.
Choose what you want to write:
- Titles
- Names
- Locations
- Captions
- Emphasis words
Then customize:
- Font style
- Font weight
- Size
- Color palette
- Stroke or outline
- Shadow
- Background layer (if needed)
Keep your text readable. Bold san-serif fonts work best for this effect.
Step 3: Position the Text Exactly Where You Want It
This is important.
Place the text behind where your subject will stand or walk. For example:
- Behind the head
- Behind the shoulders
- Behind a walking person
- Behind someone sitting at a desk
The effect only looks realistic if the positioning matches the perspective.
Step 4: Duplicate Your Video Clip (The Magic Step)
Right-click your video → Duplicate.
Drag the duplicate so it sits above the text layer.
Why duplicate?
Because the top layer will act as a mask, covering parts of the text that should appear behind the person.
Think of it like creating a sandwich:
- Bottom: Original video
- Middle: Text
- Top: Masked video layer
Everything you work on the top layer will reveal the text behind it.
Step 5: Apply the Background Removal to the Top Video Layer
Select the top video → click Video → Remove BG.
CapCut gives you background removal options. For our case, we will click on Custom removal option.
✔ Brush
Used for:
- Keeps the selected object
- Standing subjects
- Person in the center
- Simple up-and-down coverage
✔ Eraser
Great for:
- Removing selected objects
The more time you provide in object selection, better the results comes out. CapCut makes this easier than most editing software because you can see exactly how the mask tracks the movement.
Step 7: Fine-Tuning for a More Cinematic Look
To enhance realism:
- Add slight shadow to text
- Add stroke for readability
- Adjust brightness/contrast
- Maintain consistent spacing between subject and text
For cinematic edits:
- Add motion to the text
- Use a subtle zoom-in effect
- Add color grading for mood
- Use depth-of-field blur (optional)
When Should You Use This Effect?
The text-behind-person effect is perfect for:
- Introductions (“Welcome to Bali”)
- Name titles (“John Miller – Photographer”)
- Scene transitions
- Storytelling
- Client interviews
- Short-form social content
- Fitness or motivational videos
- Travel edits
It gives viewers a high-end editing feel without requiring advanced tools.
Advanced Variations You Can Try
Once you master the basic version, try these:
1. Animated Text Behind a Person
Add motion to the text using keyframes:
- Slide-in
- Fade-in
- Scale-up
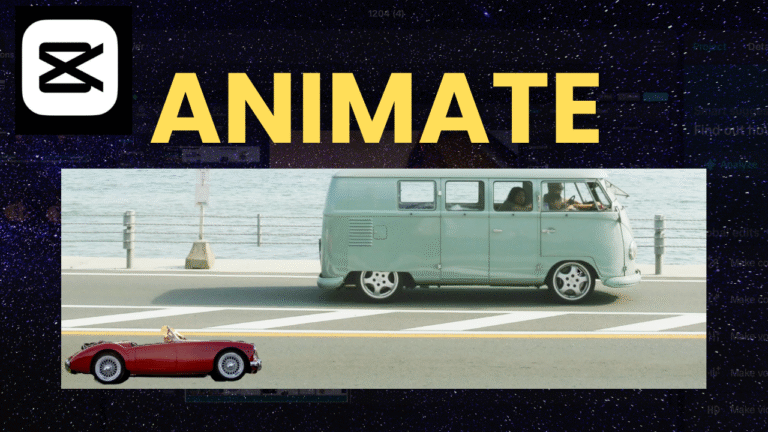
2. Text Behind Moving Objects
Use this effect for cars, bikes, doors, chairs, etc.
3. Color-graded masked area
You can use masking to isolate color areas for stylish transitions.
4. Text + Blur + Depth effect
Blur the background to enhance depth separation.
Export Your Final Video
Click Export → choose:
- 1080p or 4K
- 30 or 60 FPS
- High bitrate
Use 4K export even if your final upload is 1080p — YouTube compresses less when you upload 4K files.
Watch the Full YouTube Tutorial
If you want the visual breakdown, here’s the full video:
Need Help with Video Editing?
If you’re working on a project and need a freelance editor, you can find skilled video editors on Fiverr:
👉 https://rafys.net/fiverr
This helps support my content at no extra cost to you.
Need more CapCut Video Editing Tutorials?
If you are interested to learn more features of CapCut video editor, check out other posts I have made added below.
How to Speed Up or Slow Down a Specific Part of a Video in CapCut
How to Zoom In on Part of a Video and Zoom Out in CapCut
How to Blur Multiple Moving Faces at Once in CapCut?
How to Track Any Object with CapCut – Motion Tracking Basic
Final Thoughts
The “text behind a person” effect may look advanced, but CapCut’s free tools make it accessible to everyone—from beginners to aspiring editors. Once you understand the simple workflow (video → text → duplicate → background removal → refine), you can use it in any kind of video.
It’s one of those effects that instantly transform your videos and makes them look professionally edited. With practice, you’ll be able to pull it off in just a few minutes.
If you try this effect, tag me on your socials—I’d love to see what you create!