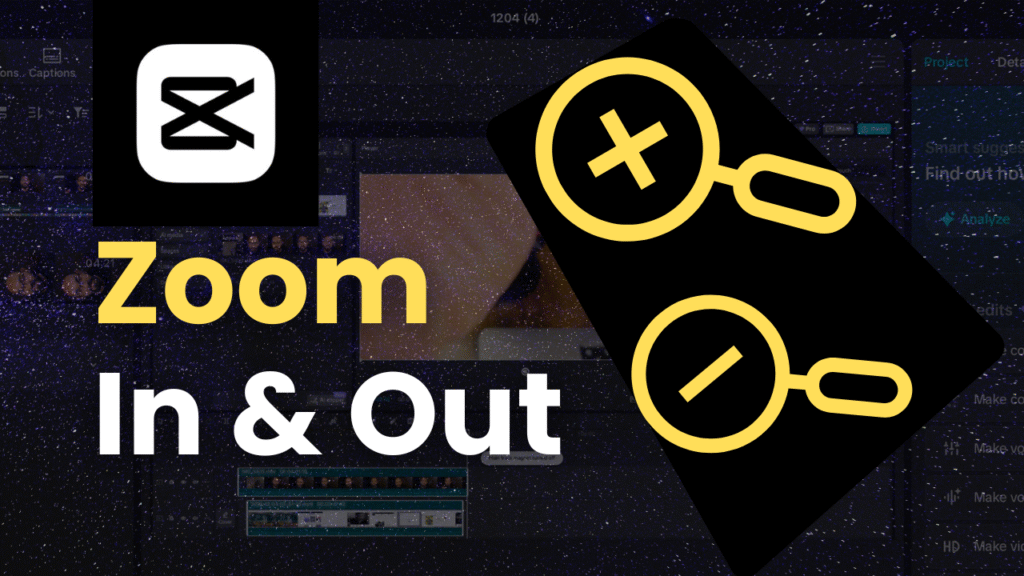
How to Zoom In on Part of a Video and Zoom Out in CapCut
If you want to make your videos more engaging, learning how to zoom in on a specific part of a video in CapCut and then smoothly zoom out again is one of the easiest ways to add movement and focus to your edits.
The best part? CapCut makes this entire process simple, even if you’re a beginner.
In this blog post, you’ll learn exactly how to add a zoom in and zoom out effect in CapCut, how keyframes work, and how to make the final animation smooth and professional.
Why the Zoom Effect Is So Popular
Adding zoom effects in CapCut is useful because it helps you:
- Highlight an object or area
- Draw attention to an important moment
- Make tutorials and reviews easier to understand
- Add smooth motion without extra equipment
- Make your videos look more dynamic and professional
Whether you are editing for YouTube, TikTok, Instagram Reels, or client projects, mastering this simple zoom effect can instantly level up your video quality.
How to Zoom In and Zoom Out in CapCut (Step-by-Step Tutorial)
1. Import Your Video Clip
Open CapCut → create a new project → import the video you want to edit.
Make sure the clip is long enough to apply the zoom in and zoom out smoothly.
2. Move to the Area Where You Want the Zoom to Begin
Drag the playhead to the exact moment where you want the zoom-in effect to start.
This makes sure the effect looks natural and well-timed.
3. Add the First Keyframe
Tap on the Keyframe icon (a small diamond shape).
This keyframe marks your starting position — the video is at its normal scale here.
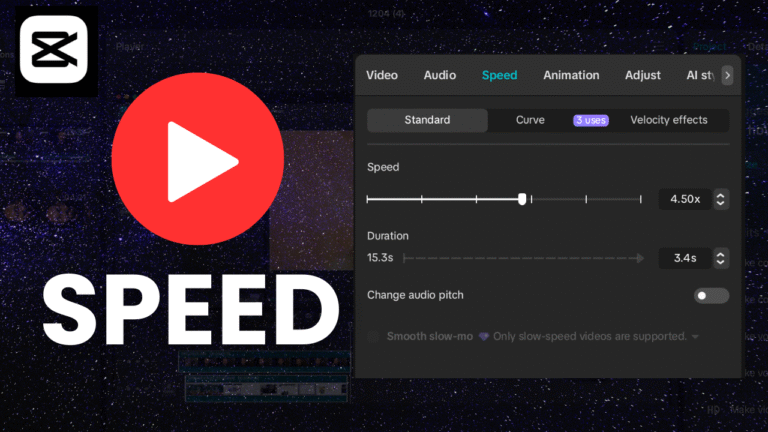
4. Increase the Scale to Zoom In
Move a bit forward on the timeline.
Then go to:
Edit → Scale → Increase the value
You can also adjust the video’s position if you want to zoom into a specific subject or object.
CapCut automatically creates the second keyframe.
This creates your zoom-in animation.
5. Add the Zoom Out Effect
To zoom back out:
- Move forward on the timeline again
- Tap the keyframe icon
- Reset Scale back to 1.0
Now you have a clean Zoom In → Zoom Out motion in your video.
Tips for a Smooth Zoom Effect in CapCut
To make your zoom effect look more professional:
- Use small zoom values (1.2x to 1.4x)
- Add easing: Ease In / Ease Out
- Avoid zooming too close—it reduces video quality
- Keep the keyframe distance longer for smoother motion
- Test different speeds to match your video style
These simple tweaks make a big difference in the final result.
🎥 Watch the Full Tutorial on YouTube
If you want to see all these steps visually, I’ve created a full tutorial that shows exactly how to zoom in on a specific part of a video and zoom out smoothly using CapCut.
Watching it will help you understand how to use keyframes properly and how to make your zoom transitions look clean.
Final Thoughts
Learning how to apply the zoom in and zoom out effect in CapCut is one of the simplest ways to improve your video editing skills.
Once you understand keyframes, you’ll be able to add more dynamic movements, transitions, and creative animations to your videos.
If you found this guide helpful, feel free to explore more of my CapCut tutorials.
I’m creating a full playlist to help beginners and content creators edit videos with confidence.